So I'm not quite ready for the "reveal" just yet. Apparently a tiny little device I need to hang my fancy new headboard is a little more hard to find than I had originally thought.
But in the meantime, I thought I'd share my process, at least thus far!
First, I gathered all the materials. I needed:
2" foam, large enough to cover headboard
plywood, I used 1/4" thick (don't go too thick)
fabric, large enough to cover headboard with extra hanging over, and something that doesn't tear easily
self-covering buttons, as many as you want for the headboard
hi-loft batting (again enough to cover the headboard and hang over)
adhesive (I used gorilla glue)
staple gun
hammer
stake to push through the foam (I used chopsticks!! worked perfectly!!)
drill w/ drill bits
measuring tape
upholstery thread
upholstery needles
exacto knife
First, you'll need to figure out how large and what shape you want for your headboard. Curves will be more difficult, so keep that in mind. I chose a very large 4'x6' rectangle headboard. I wanted a more classic look, because my idea is to put a very intricate stencil pattern on the same wall as the headboard. :)
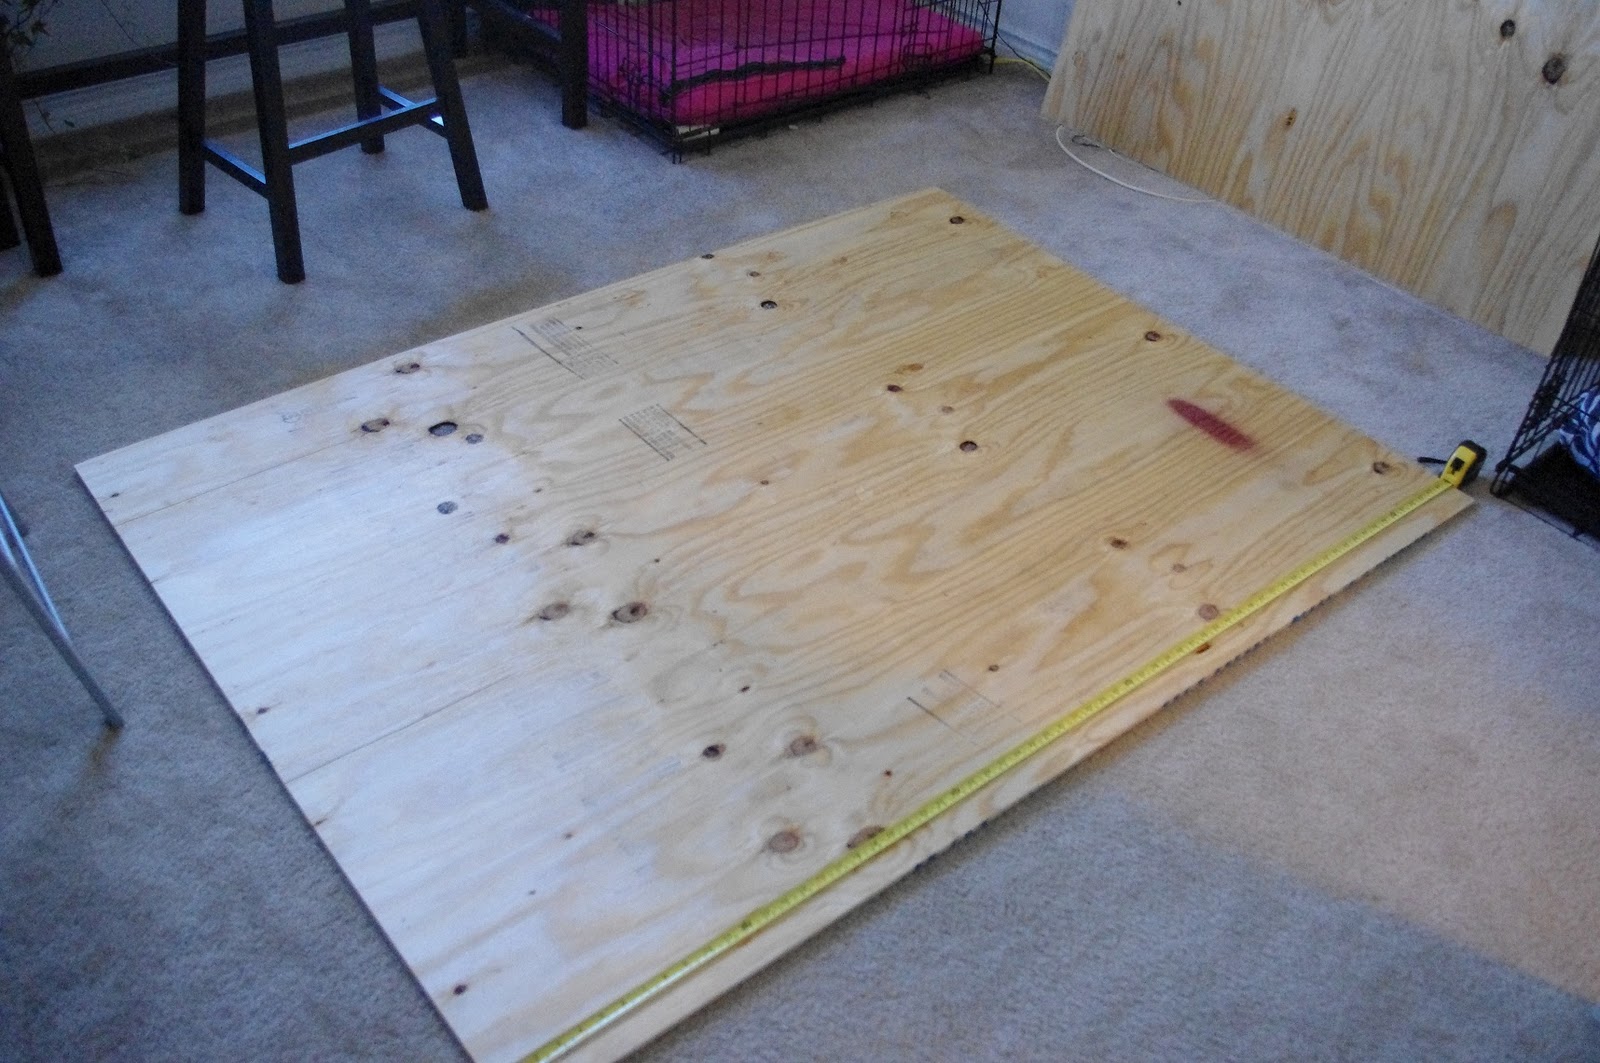
Once you choose your size, you'll need to get the plywood cut, or cut it yourself. This was also a deciding factor to me, since I don't have a jigsaw. Also, quite honestly, they terrify me! Ha! I'm quite clumsy so a motorized blade, well, let's just say we wouldn't be friends! Easy cuts you can get done at your local hardware store, so that was for me!
Once you get your plywood cut to your shape, you need to start marking where the buttons will be. Make sure your measurements all line up! I measured, marked, measure again and then measured diagonally as well to be sure everything would line up. I also used a level to be sure my lines were straight. Then I had a helper...
Mark the places that the buttons will go with a sharpie marker.
Then you can start the drilling. No pictures of this, because it was done outside, and it was cold so I was trying to hurry!
After drilling the holes, you start to glue the foam down. I tried spray adhesive first.
That didn't seem to work very well, so I broke out the gorilla glue. That worked!!! I had to let the foam sit for a day though, just to be sure it set. Definitely didn't want the foam coming apart.
After letting the foam set, I used a chopstick that I had to punch the holes through the foam.
The foam isn't fully trimmed off here because I wanted to be sure I had enough hanging on the edges and didn't cut it too short.
After poking the stick all the way through the foam, mark the front with a sharpie. Once you get all the spots marked on the front of the foam, you'll want to remeasure to make sure everything is even and level. After I got everything marked, I trimmed off the excess foam and cut out where I foam where I marked using an exacto knife. It doesn't need to be perfect, but the holes need to be slightly smaller than the buttons. So that you can pull the buttons tight, but not all the way through to the wood.
Once that is done, you'll need to cover your buttons with the same fabric that you're using for the headboard. This is a fairly simple process. Just follow the instructions on the back of the packaging.
Now you can lay your batting over the entire headboard, making sure that enough hangs over all the sides to pull it tight later.
Now just add the fabric, again making sure that there is enough to go around all the sides. The tufting will pull the fabric in a bit, so be sure there is plenty on all sides. Towards the end, mine got a little touch-and-go!
***Important side note, iron the fabric first! I know the fabric looks a bit wrinkly here, but I ironed my fabric several times.
After you get your fabric laid out, well, here comes the
tough tricky part of this do-it-yourself project.....you'll need to push the buttons into the holes of the fabric, while pulling the thread taunt in the back. This was just about as difficult as it sounds, especially since I started this without any help. I ended up being able to do it, but it was hard to try to straddle the headboard, push a button and pull the needle in the back all at the same time! Also, it's probably important to note that I triple threaded all of my buttons. Definitely didn't want the thread to brake on me. Start with the middle button and work your way out, forming the pleats as you go.
You'll notice the pleats are starting to form. You'll need to decide how you want your folds to lay, and begin to form the overall pattern once you get a few buttons through. Here's a close up for you:
Work diagonally, and then parallel to get the fabric to lay correctly. I had to redo some of my buttons as I went along because I pulled the fabric too tightly and I wanted to get just the right look. When securing my buttons to the back, besides just tripling my upholstery thread, I stapled the thread to the back of the headboard using a zig zag pattern. I also had to hammer down the staples to be sure there were flush with the wood. Definitely don't want these suckers flying off in the middle of the night because the thread came loose!
Now you can start the process of pulling the fabric and batting and stapling both to the back of the headboard, finishing up any pleating you want. This can also take patience. Especially with a curved headboard. Since I did a rectangular headboard, my pulling and stapling was fairly easy. I had to take a few out and redo a few staples to get the look that I wanted, but that's to be expected.
After everything is stapled the way you want it, you can trim off the excess batting and fabric. I used a double row of staples, just to be on the safe side.
Too be continued.......


No comments:
Post a Comment